
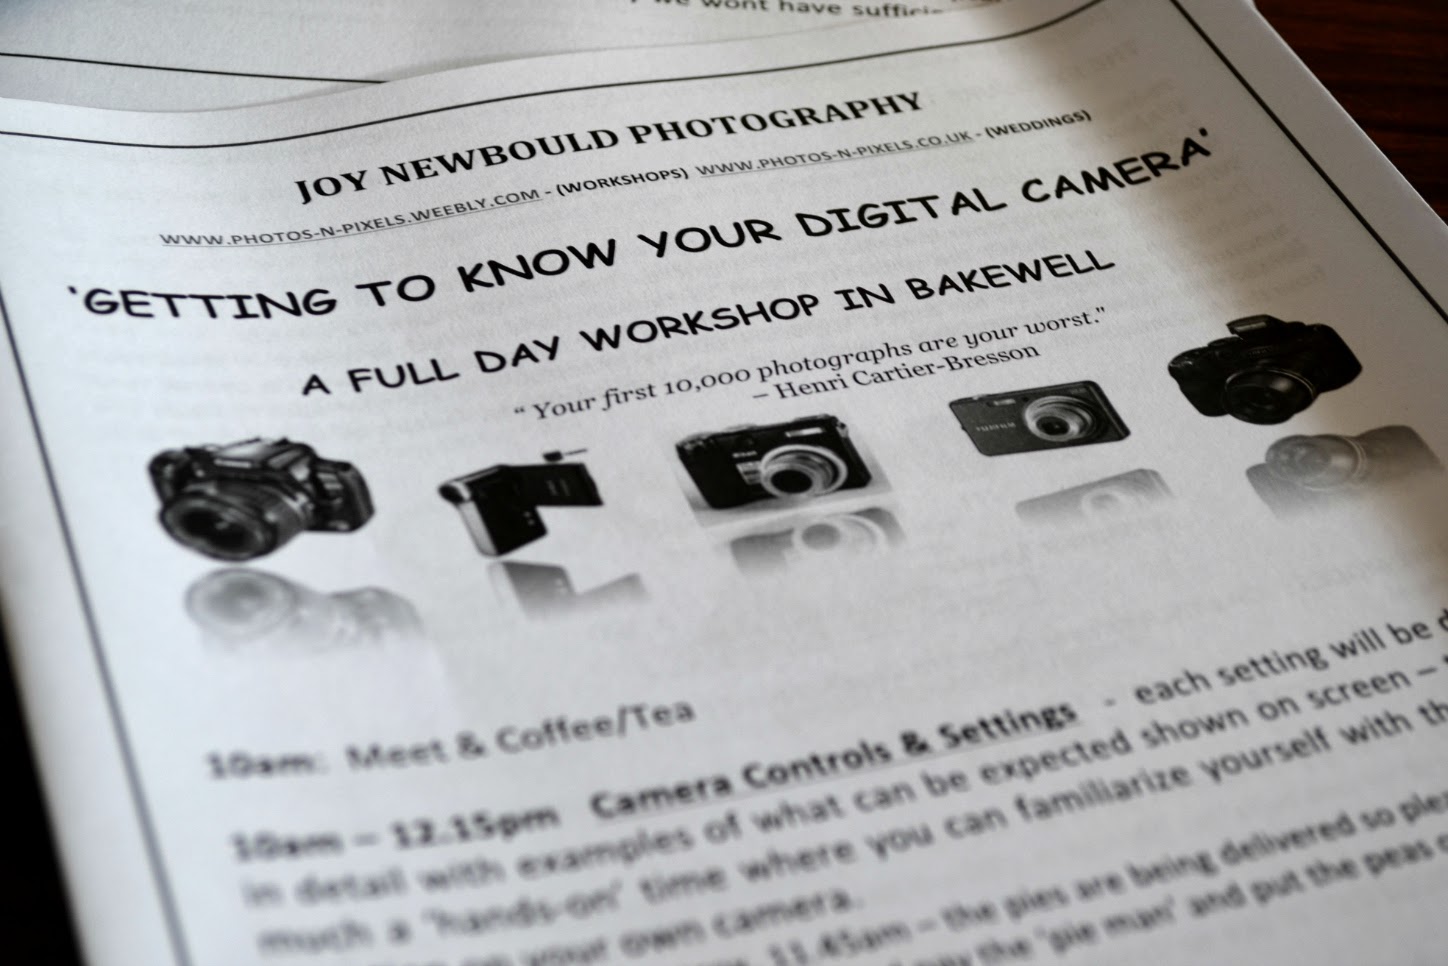
For Christmas, my "main present" was a Nikon D3100 SLR camera which was my first ever SLR. As a result of this, my dad and stepmum booked me onto a "Getting to Know Your SLR" workshop to help me along the way. I'd never used a SLR before and my knowledge of my camera was extremely basic, so as you can imagine, I was pretty excited for the workshop. The other Saturday, I headed over to Bakewell (which is such a beautiful place) and after a scary drive - I'm a bit of a nervous driver - I took part in the workshop. I learnt a hell of a lot and I decided to write a few things down for you lot.

Aperture Priority
Without a doubt the best setting for bloggers. If you're taking images of things that are still - for example, a lipstick or a person - then this is the setting you should choose. If you have a Nikon, it can be found by turning the top right hand dial to 'A.' The bigger the hole, the lower the "f" number which will end up blurring your background like the photo above; perfect for taking images of beauty products. The smaller the hole, the higher the "f" number which means that less light is getting into the lens and the focal area is much bigger, therefore lessening the blur.

Shutter Priority
I knew nothing about Shutter Priority until this class as I'd always used my camera for taking pictures of still products. However, this setting is wonderful if you're taking images of anything that's moving. This setting can be found on a Nikon by turning the top right hand dial to 'S.' The bigger the shutter speed, the quicker the shutter closes and therefore the crisper the image. The photo above was taken using a lower shutter speed of 1/15th which meant the shutter closed slowly and therefore made the water look dreamy. If this would've been taken with a higher shutter speed (say 1/500th) then the water would have been crisp and you would've been able to see droplets.
ISO
Lots of bloggers talk about bumping up the ISO in low light conditions and whilst this is a wonderful way to brighten up your images, it's also creates a lot of horrible "noise." The ISO should be one of the last things you adjust. I'd recommend never going above 800 ISO if you'd like to keep your photos crisp, sharp and noise-free. A better way to inject light into your photos is to bump up the Exposure Compensation a little bit as this doesn't jeopardise the quality.
I learnt many other useful things including: AF-Area Mode; Focus Mode; White Balance and Metering. If you're interested in another post, please do let me know. If you're interested in taking part in the course yourself then you can find out more information here. I'd highly recommend it. Joy is such a lovely woman and she explains everything perfectly. After a workshop in the morning and the most delicious homemade pie at dinner, you and the rest of the group embark on a photography walk around Bakewell. If there's anything you don't understand, Joy helps you along the way with her extensive knowledge.
If you'd like to participate in Joy's fabulous workshop then she has said if you contact her (joynewbouldworkshops@gmail.com) and say that Bamboozle Beauty sent you, she will charge you £32 for the full day including lunch instead of the RRP of £100!
If you'd like to participate in Joy's fabulous workshop then she has said if you contact her (joynewbouldworkshops@gmail.com) and say that Bamboozle Beauty sent you, she will charge you £32 for the full day including lunch instead of the RRP of £100!
What are your top photography tips? Have you ever been to a photography workshop before?
_________________________________________________________________________________________________________